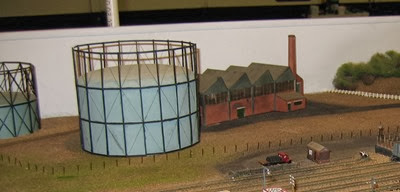
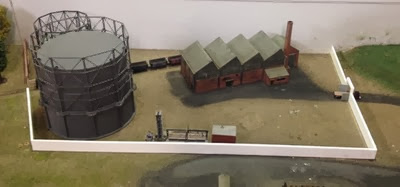
As the photo below shows, the fence around the St Alban’s Gas Works (the only similarity with the real one is the name! If anyone can point me at a book about the St Alban’s Gas Works and the rail workings to same, I would be grateful) was done with absolutely no idea of reality.
I decided – on a whim; in desperation; I cannot remember as it was quite some time ago – to use Peco track pins to represent fence posts and “imagine” there was strands of wire between them. Now for keeping sheep in on a station in Australia, that is about all you need. However, having had a look at Frankland (start here on the N Gauge Forum – scroll down for the Walthers Gas Holder or have a look here at page 6 of the posts on the New Railway Modellers Forums. Google also brings up various incarnations of RMWeb with more)* for the inspiration for the changes which are detailed below.
The first thing which I did was get hold of one of the Walthers Gas Holders – although that pre-dates the finding of Frankland. I received the kit for my birthday in 2013 and got some building done, but the glue I had wasn’t working so it was put aside until I was able to replace the glue. New glue got this year and the kit was completed. The kit is good in that it gives two height options for the tank – I opted for the highest but I am planning on getting a second which I will do at the lower height for variety. During the day the heights would vary depending on usage and manufacturing.
This is it completed and given a coat of Humbrol 64. Having gotten in touch with Mark and asked him how he did it (see page 11 of the N Gauge Forum discussion for details) and discovered I should have waited to put all the lattice on. Live and learn. So the gas holder is as above at present while I think about what to do – visit to the LHS might be in order to see about paint options and then do detailing and weathering.
Attention then turned to the fence.
I decided that something needed to be done with it as I was getting ready to continue the refresh of the grass from the pervious session (Part I Post) and felt that as the fence wasn’t right, I was going to have to fix it first, then do the grass.
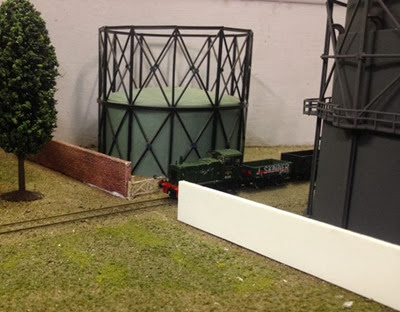
So several nights later, the Gas Works is now surrounded by a wall, a scale 10 feet high and 18 inches thick – double bond I think it is called. The wall is made out of 1mm styrene laminated to give the 3mm required thickness. I am planning on covering it with Scalescenes aged red brick paper.
So far, the first bit has been done – the picture was taken almost as soon as I had glued it so the white bits are actually undried glue.
I decided that while the road entrance would have some seriously solid gates, the rail entrance would get Peco level crossing gates. One, they fitted the hole, and two, the story goes, that there was seriously solid gates until one day they jammed whilst being opened to let the train out, and as the train was already approaching and failed to stop, the gates were opened by the gentle attentions of a 4F and 16 empties… Meanwhile, back to applying brick paper – and printing some more.
* too many forums to keep track of to be honest – hence my blog!


No comments:
Post a Comment